Foil Printing

Flyers
- Choose from a variety of sizes
- Choose from classic 250gsm or super-thick 350gsm
- Foiling available on matt lamination

Stapled Booklets
- A variety of sizes available
- Choose a variety of foiling options on a soft matt finish
- Delivered in two working days
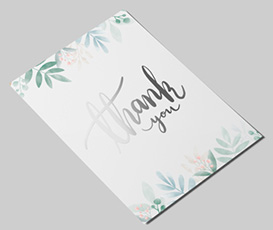
Foil Greetings Cards
- A range of sizes to choose from
- 2 foiling colours – customise your cards!
- Classic, premium and red envelopes available

Foil Folded Leaflets
- A range of sizes to choose from
- Half-fold, C-fold and Z-fold leaflets available
- Delivered in two working days

Foil Invitations
- Shiny gold and silver finishes
- Envelopes included with every order
- Delivered in two working days

Interlocking Presentation Folders
- Available in A4 & A5 sizes
- Printed on thick 350gsm silk
- Add foiling to the front cover
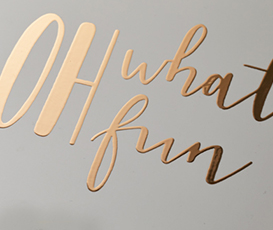
Foil Christmas Cards
- Pick from a range of popular sizes
- Choose from gold or silver foiling
- Choose from 3 types of envelopes, including red
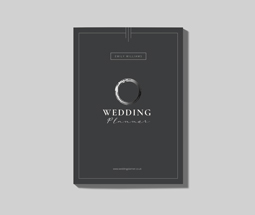
Perfect Bound Booklets
- Five sizes to choose from
- A premium booklet printing option
- Different inner page types to select from
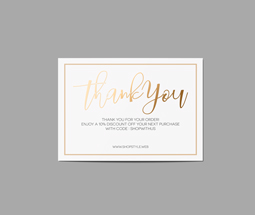
Postcards
- Printed at A6 size
- Coated in a single sided matt lamination
- Choose from Gold or silver foiled finish

Swing Tags
- Add more luxury to your gifts
- Parcel and Swing tags available
- String included for attaching to gifts
Setting Up Your Artwork for Print
How to Make Print-Ready Files in Photoshop CC
Setting up your document is the first step in designing your own print materials, but it can be daunting if you’ve never done it before. How do you add bleed? What resolution should it be? Not to fear, we’ve slowed the whole process down and taken it step-by-step to show best practice and answer your questions. In this video, we’ll show you the best way to make a print-ready PDF with bleed using Adobe Photoshop CC, including how to add bleed, inserting images and exporting the document as a PDF so it’s ready for print. For more artwork and design help, check out our artwork guides here.
Our Customer Reviews
Our Inspirational Blogs

What is foiling in Printing?
Foiling is a finishing technique where heat, pressure and glossy UV are used to bind a thin film of metal (foil) to paper or card. Foil printing is generally used to create a memorable and high-quality finish and is popular for premium businesses’ print and wedding stationery.
Learn more
How to Set Up Foiling Artwork for Print
Foiling is an additional finish that allows you to add a shiny metallic foil to your design in specific areas. This is great for making logos and text stand out, or adding a unique texture to your artwork.
Learn more
How to Upload & Proof-Check Artwork for Print
Once your design is ready to go, the only thing left to do is send it to us and approve your proof! If you’re not sure how to upload your artwork, what a proof is or what you’re supposed to look out for when checking your proof, we’ve got it all covered in this handy guide.
Learn more


