
Updated: 30 Jan 2023
Designing your own artwork for print isn’t just for the pro designers – with our free design tool (+ tons of templates to customise) it’s easy to bring your ideas to life. In this guide, we’ll run through how to choose a template, how to create or customise a template, how to save and access saved designs as well as some top tips on getting the most out of the tool.
Step 1: Make an Account
Although you can use our design online tool and checkout as a guest, making an account or signing into your existing account makes it much easier to save designs and access previous designs. If you haven't got an account with us yet, you can sign up here.
Step 2: Finding a Template
To find a template for the product you've got your heart set on, simply add your order to the basket. You'll then see the following pop up appear on the page:
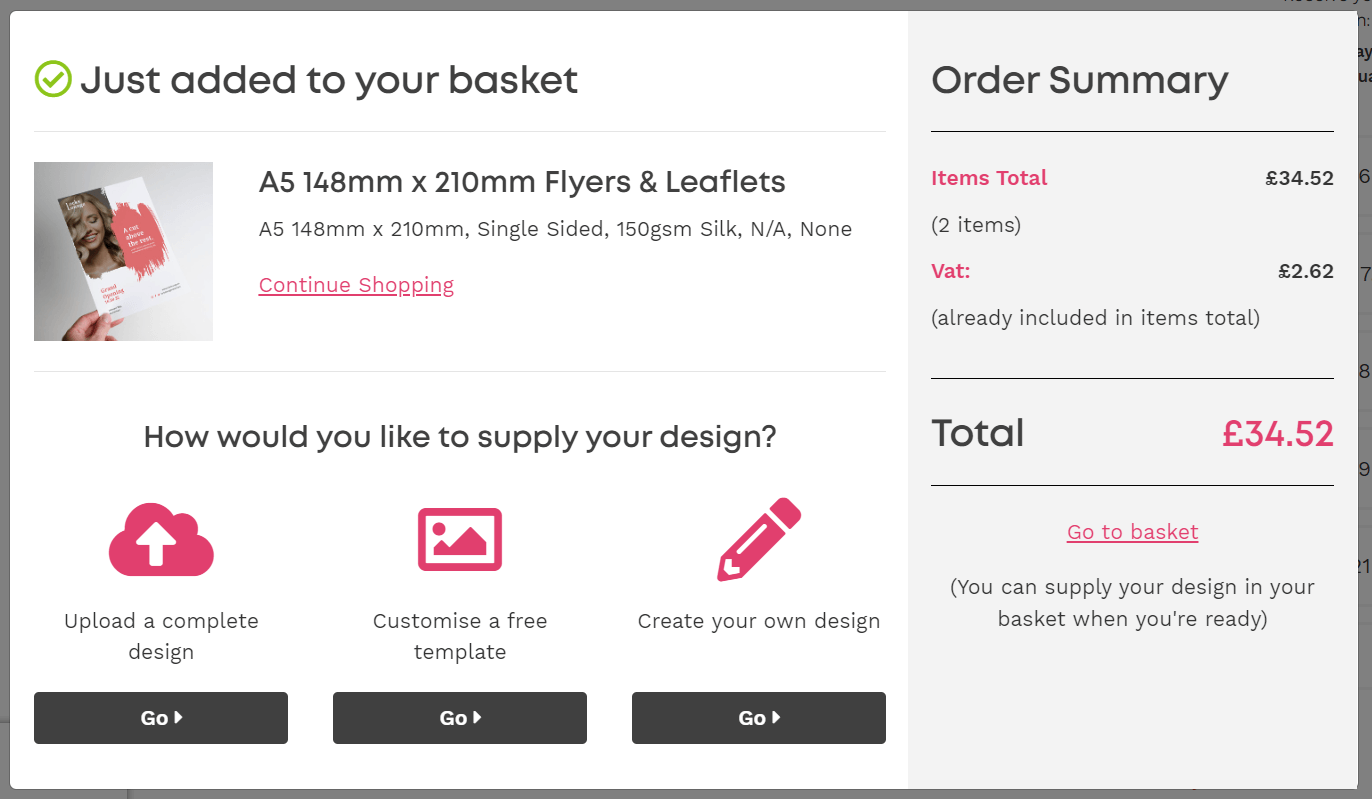
Select 'Customise a free template' or 'Create your own design' to access our design online tool.
Step 3: Create Your Design
Now for the fun bit! Our design tool gives you complete control over the background adding images and changing the text. Here’s a quick step-by-step guide on how to use the different functions our design tool has to offer.
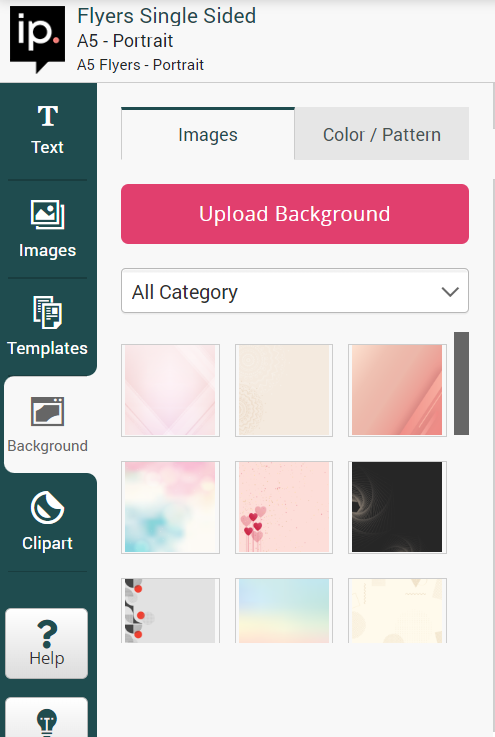
1. Add a background colour
The background is a great place to start with your design. To pick a background colour, go to the toolbar on the left-hand side of the page and click 'Background'. You’ll then get to choose from a range of colours, patterns and images for your background. You can also upload your own background for your design.
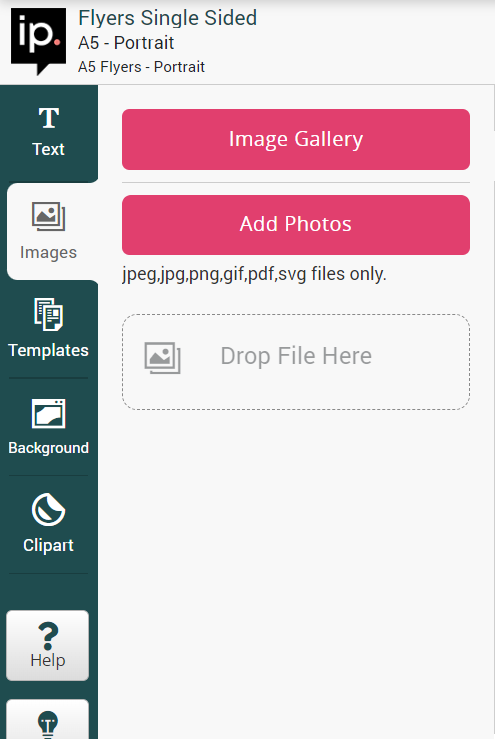
2. Add an image
To add an image, click on the Image option in the tool bar on left-hand side of the page. You can then add images from your computer to the design – just make sure they’re high quality (at least 300dpi), otherwise you’ll get a quality warning! Our image gallery features a range of free-to-use high quality images you can add to your design.
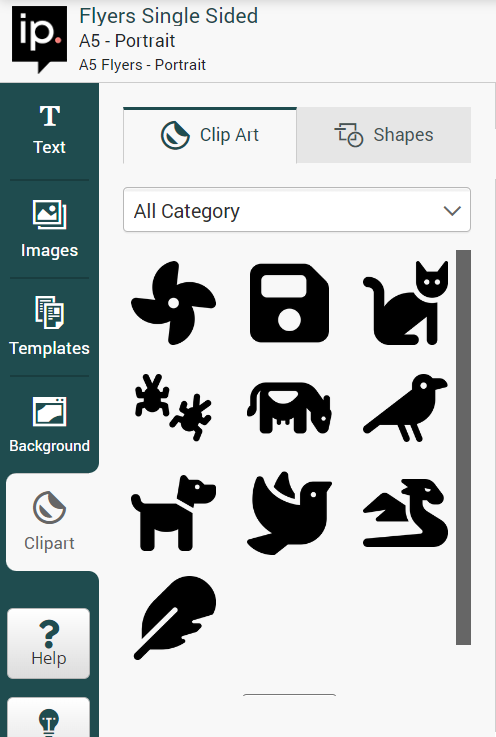
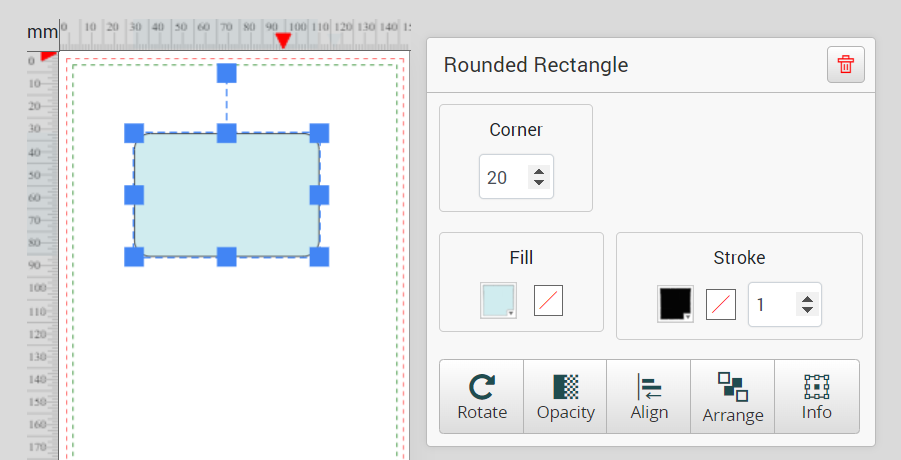
3. Add shapes
Next to where you add an image, there’s a Shapes option. We’ve got your basic shapes like circles and squares, and also things like phone and social media icons which are really useful! Our huge range of clipart makes it easy to customise your design with logos and more.
You can change the colour of the shape by choosing the colour picker here:
4. Add text
To add text, first click on the Text icon in the left-hand toolbar:
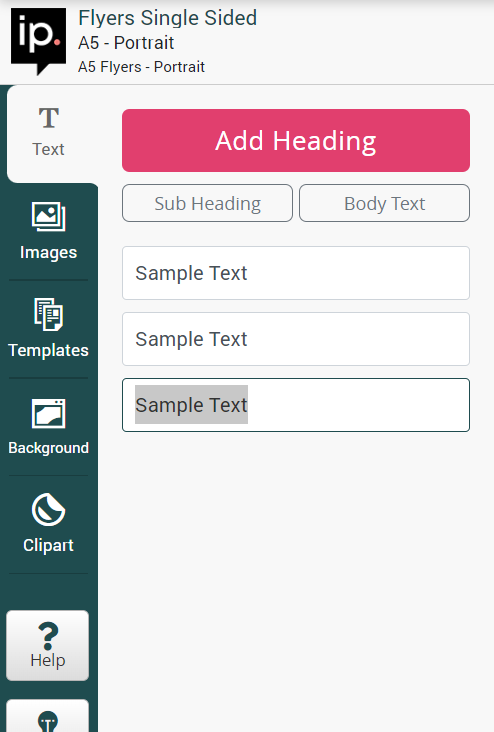
Then click to choose which type of text you want. This creates a text box – you can either type into the box in the left-hand panel, or directly into the text box to add text.
You can change the colour, font and style of the text using the pop up toolbar that appears.
Click on the bin to delete the text.
Step 4: Save Your Design
If you want to design today and order later, that’s perfectly fine! You can save your design on your account and come back to it whenever you want – this also means you can come back to complete your order later too!
How do you save your design?
To save your design you will need to click the continue button at the top right of the page. If you are logged in at the time of clicking it you will save your design to your account. Where you can edit late through your account area.
How to Access Your Saved Designs
To access any designs that you’ve saved, go to your account. On the left-hand side of the page there will be a list of options, and at the bottom there will be an option called ‘Saved Designs’. Click here and your designs will come up. From here, you can order your print or edit your design.
Step 5: Approving Your Proof
When you’re happy with your design, click continue. Our design tool will then generate a preview of your design showing how it’ll look when printed. If you’re happy with the overall look, tick the box to confirm you approve and continue to the basket! If not, feel free to go back and make those final tweaks to make it perfect.
FAQs
How do I email my artwork to you?
You can place your order directly through our website. However, if you'd like to email your artwork to us, it's very easy to do.
Save your design and while it’s still open in “edit” mode, copy and paste the URL straight out of the address bar into an email for us.
The URL will look a little like this: https://www.instantprint.co.uk/design/b7adbe7333c24b429cf5ce839234870
You can then place a blank order for the product you’d like. To do this, add the print you want to your basket and checkout without any artwork.
Once you’ve placed your order, you’ll get an email with your web reference number – we need you to include this in your email so that we can link your design up to your order.
Email the link, order reference and your request over to artwork@instantprint.co.uk and we’ll get a manual proof sorted and sent over to you within 5 hours of receiving it.
You can reply to the proofing email letting us know whether you’re happy to go ahead.
Please note that we can’t confirm a delivery date until you’ve approved your artwork.
Why can’t I upload my image?
Sometimes you may experience problems with images uploading to the website; this could be down to colour, size or format. You can upload JPEG, PNG and GIF files to the website. Make sure your images are under 10MB and they should upload fine and not slow the process down. If your file is too large, you can scale it down using your design software and then re-export it.
Why do my colours look different?
Because our design tool is online, the colours show as RGB – this is the colour spectrum computer screens use. Make sure that any images and logos you upload for your design are first converted to CMYK. Find out more on how to do this here.
We hope these tips help you to create a design you’ll love using our free design tool. If you have any more questions about this service, don’t hesitate to get in touch with our team here.

.jpg)

